The Dos and Don'ts of Property Photography
“The camera is an instrument that teaches people how to see without a camera.”
One of the easiest ways to boost your tenant search success rate is to invest in high quality, eye-catching photography. Great property photos make tenants imagine living in a property and gives them an idea how your property can help them achieve their chosen lifestyle. Simply put, property photography is a great demand generator.
Imagine the property search process from a tenant’s point of view. There are 100s of properties available in their search area; they certainly don’t want to read all the adverts, so they click that all button ‘view only photo ads’. That gets rid of the landlords who couldn’t even be bothered to upload pictures. Then, they quickly scan through the pictures only bothering to click on the adverts with interesting photos to book viewings. Now more than ever, with the current state of the world, tenants are reluctant to go to multiple property viewings.
Without great photography prospective tenants may not even bother to click into your advert let alone book a viewing. Great photography elevates the level of interest in your property from the minute your ad is published, allowing you to be more selective when it comes to finding the right tenant for the right rental price.
“The whole point of taking pictures is so that you don’t have to explain things with words.”
Pictures are a universal language. Great property photos portray a story of what life in your property might be like for your future renters. It will also save you a ton of writing for the ad. P.S: most tenants don't read it anyway!
In this article we'll explore what to photograph and how to tell a compelling story with a few visual tricks to inspire your potential renters to book that all-important viewing.
What to Photograph for your Rental Property advert
No doubt you are hoping to attract the best tenants, so spend some time in the property to get a feel for the nicest parts of the home. Look for areas of light and unique features such as fireplaces or an indoor garden. Seek out anything that conveys the personality of the property.
There is no real magic number for the number of pictures you need however, there are rooms that should definitely be represented. Kitchens and bathrooms really sell a home so make sure you have multiple good shots of those. Living areas and the master bedroom are also important. You should also definitely add one or two additional photos to highlight your unique selling point and anything special that sets your home apart such as fireplaces and balconies. But, unless you are advertising a mansion, try to stay under 25 photos and avoid displaying two similar images so your ad has a greater impact.
How to frame the perfect shots for your property
Now that you know what rooms you need to photograph, let's look at how to capture the perfect photos in a way that tells a compelling story. Interior photography should emphasise key features, lift the atmosphere by highlighting areas of light and space, explain what the property offers and stimulate a sense of warmth and interest in potential tenants. Framing helps you achieve this. It is the way in which you decide what is in each photo, how the items are arranged and lit.
There are three main things to think about regarding framing: composition, styling and lighting. We’ll look at each of these in turn below.
1. Create interest with the composition
Composition refers to what is in the photo and how you arrange the elements to tell a story. There is no wrong way to take a photo, but when it comes to property photography there is always a best way. Creating a great composition in a property photograph is a fun, engaging way to take your interested tenants on a mini tour of your home before their viewing.
Emphasise Key Features
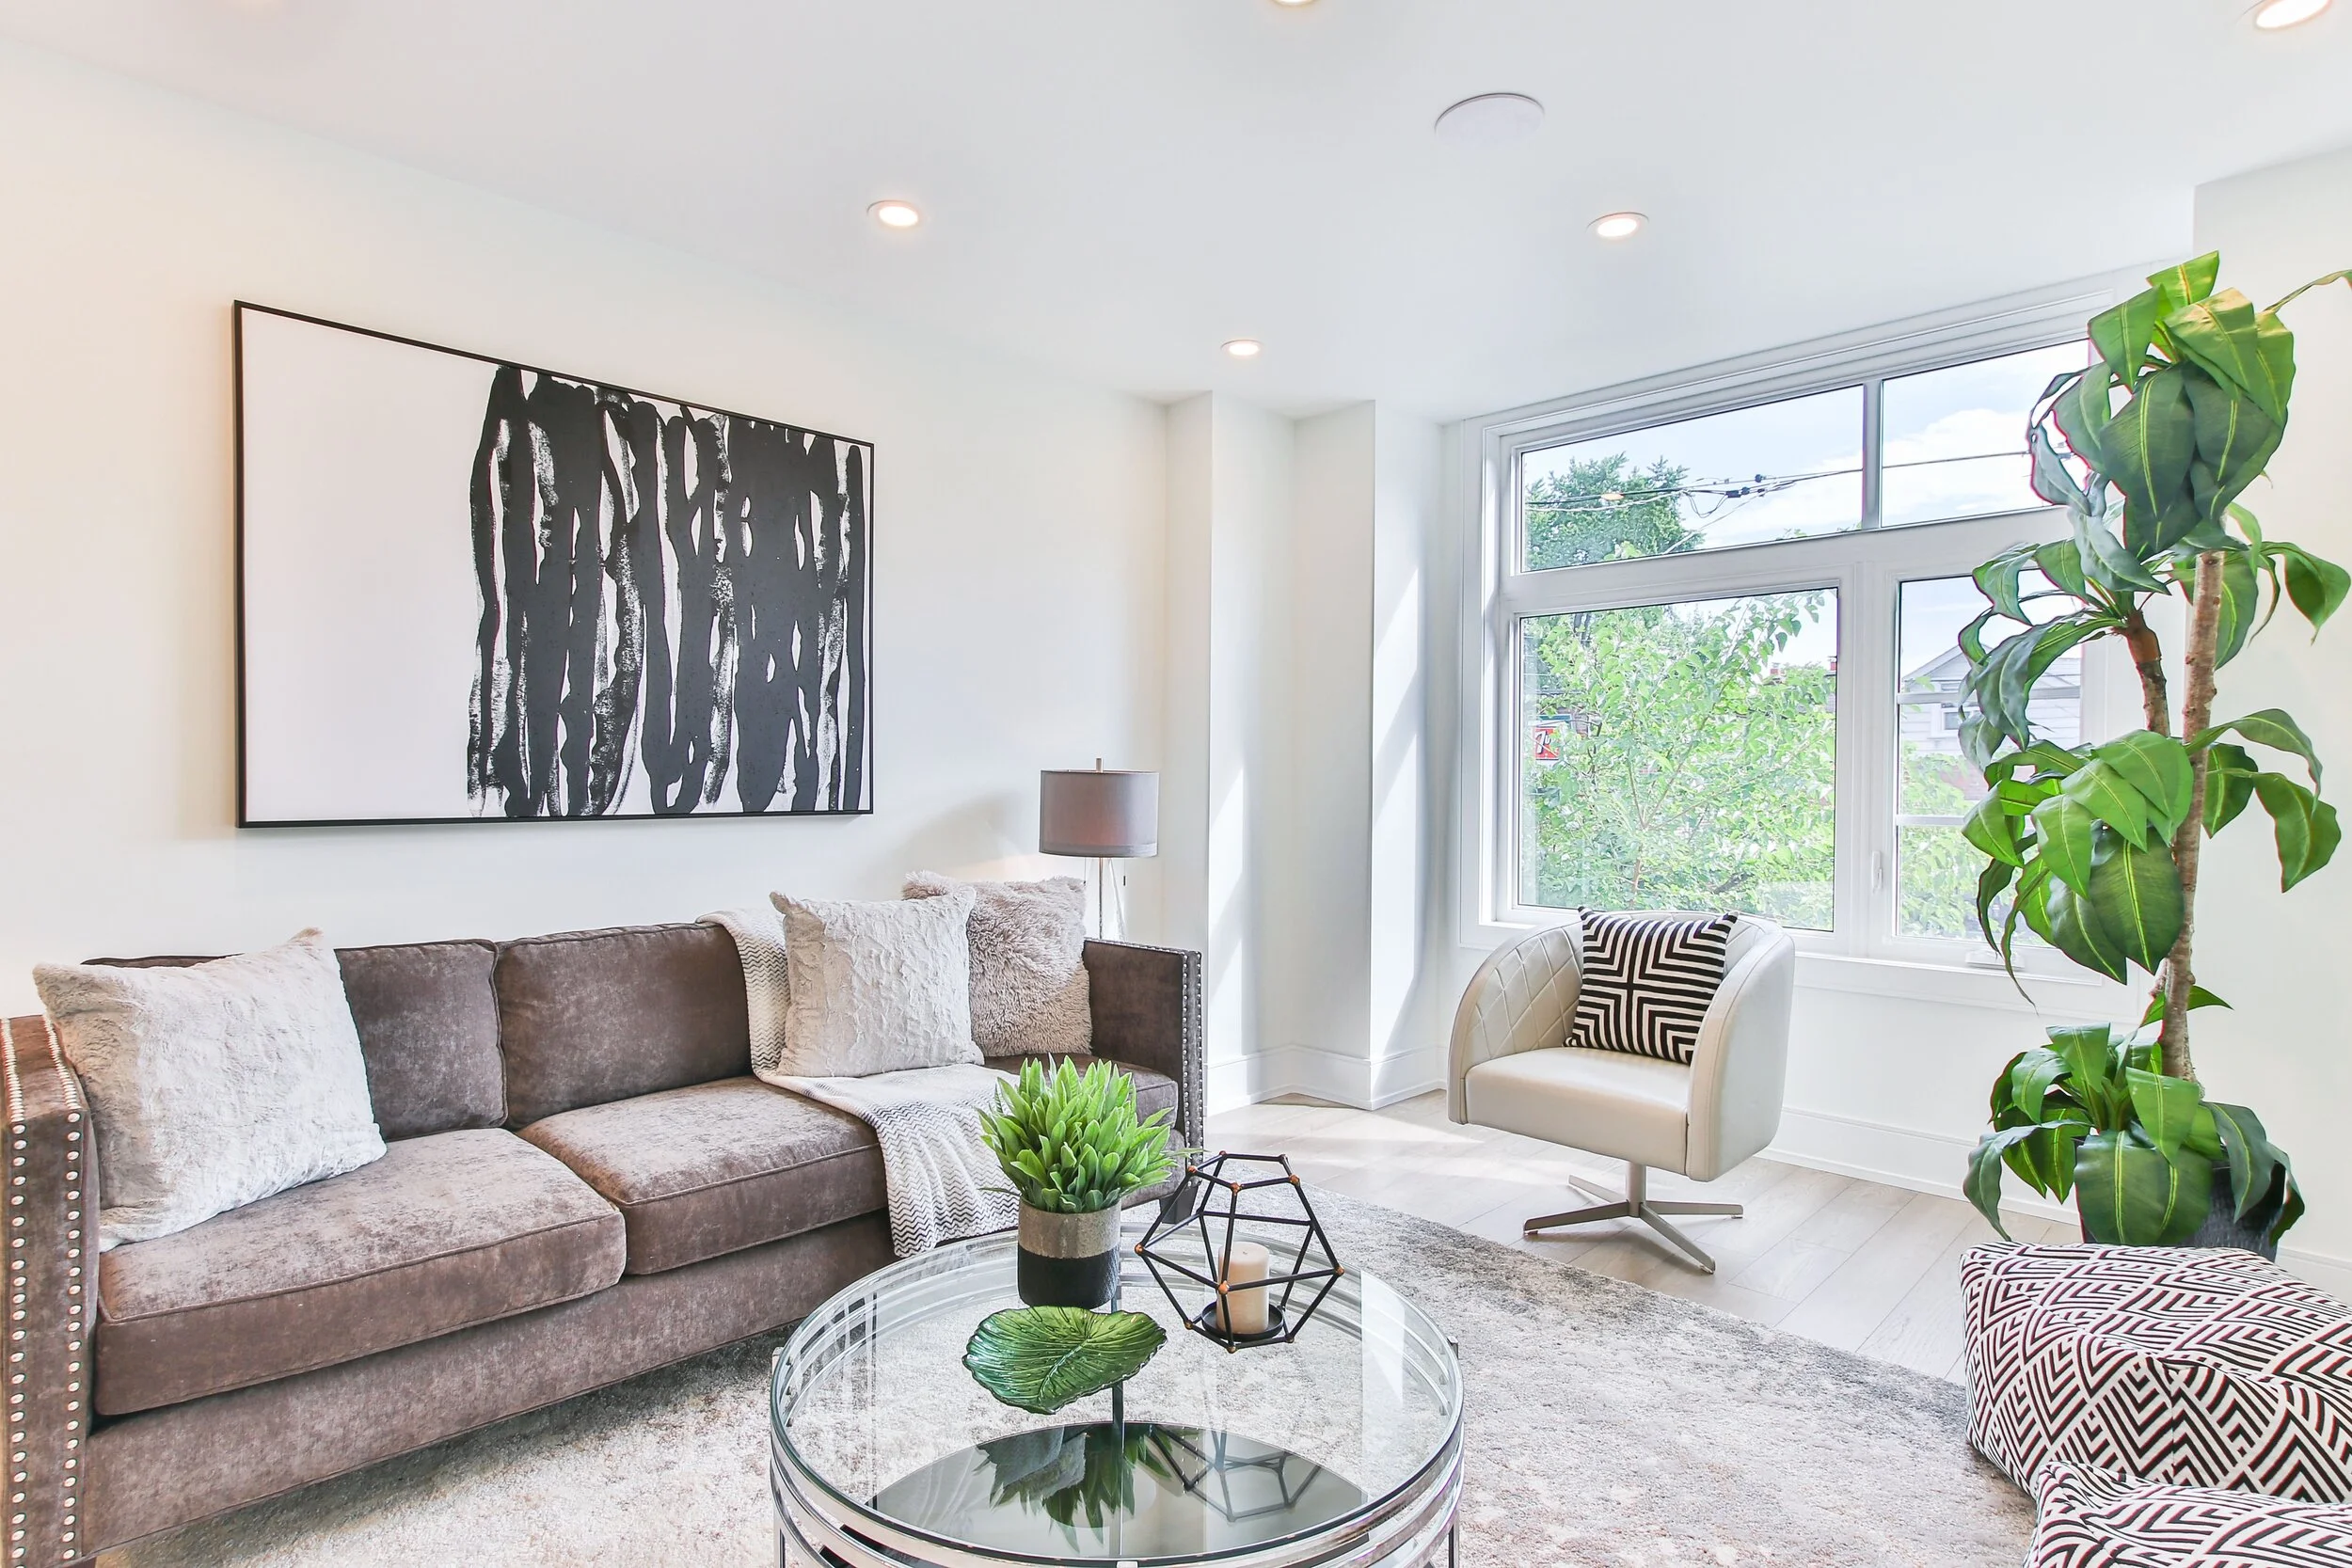
Spend a few minutes looking at the room to see where it feels the most comfortable and inviting, then try to focus your image around it. Making a unique piece of furniture, a light fixture or a particularly large window with a relaxing view the hero of the image shows off the atmosphere.
Shoot from the Perfect Height
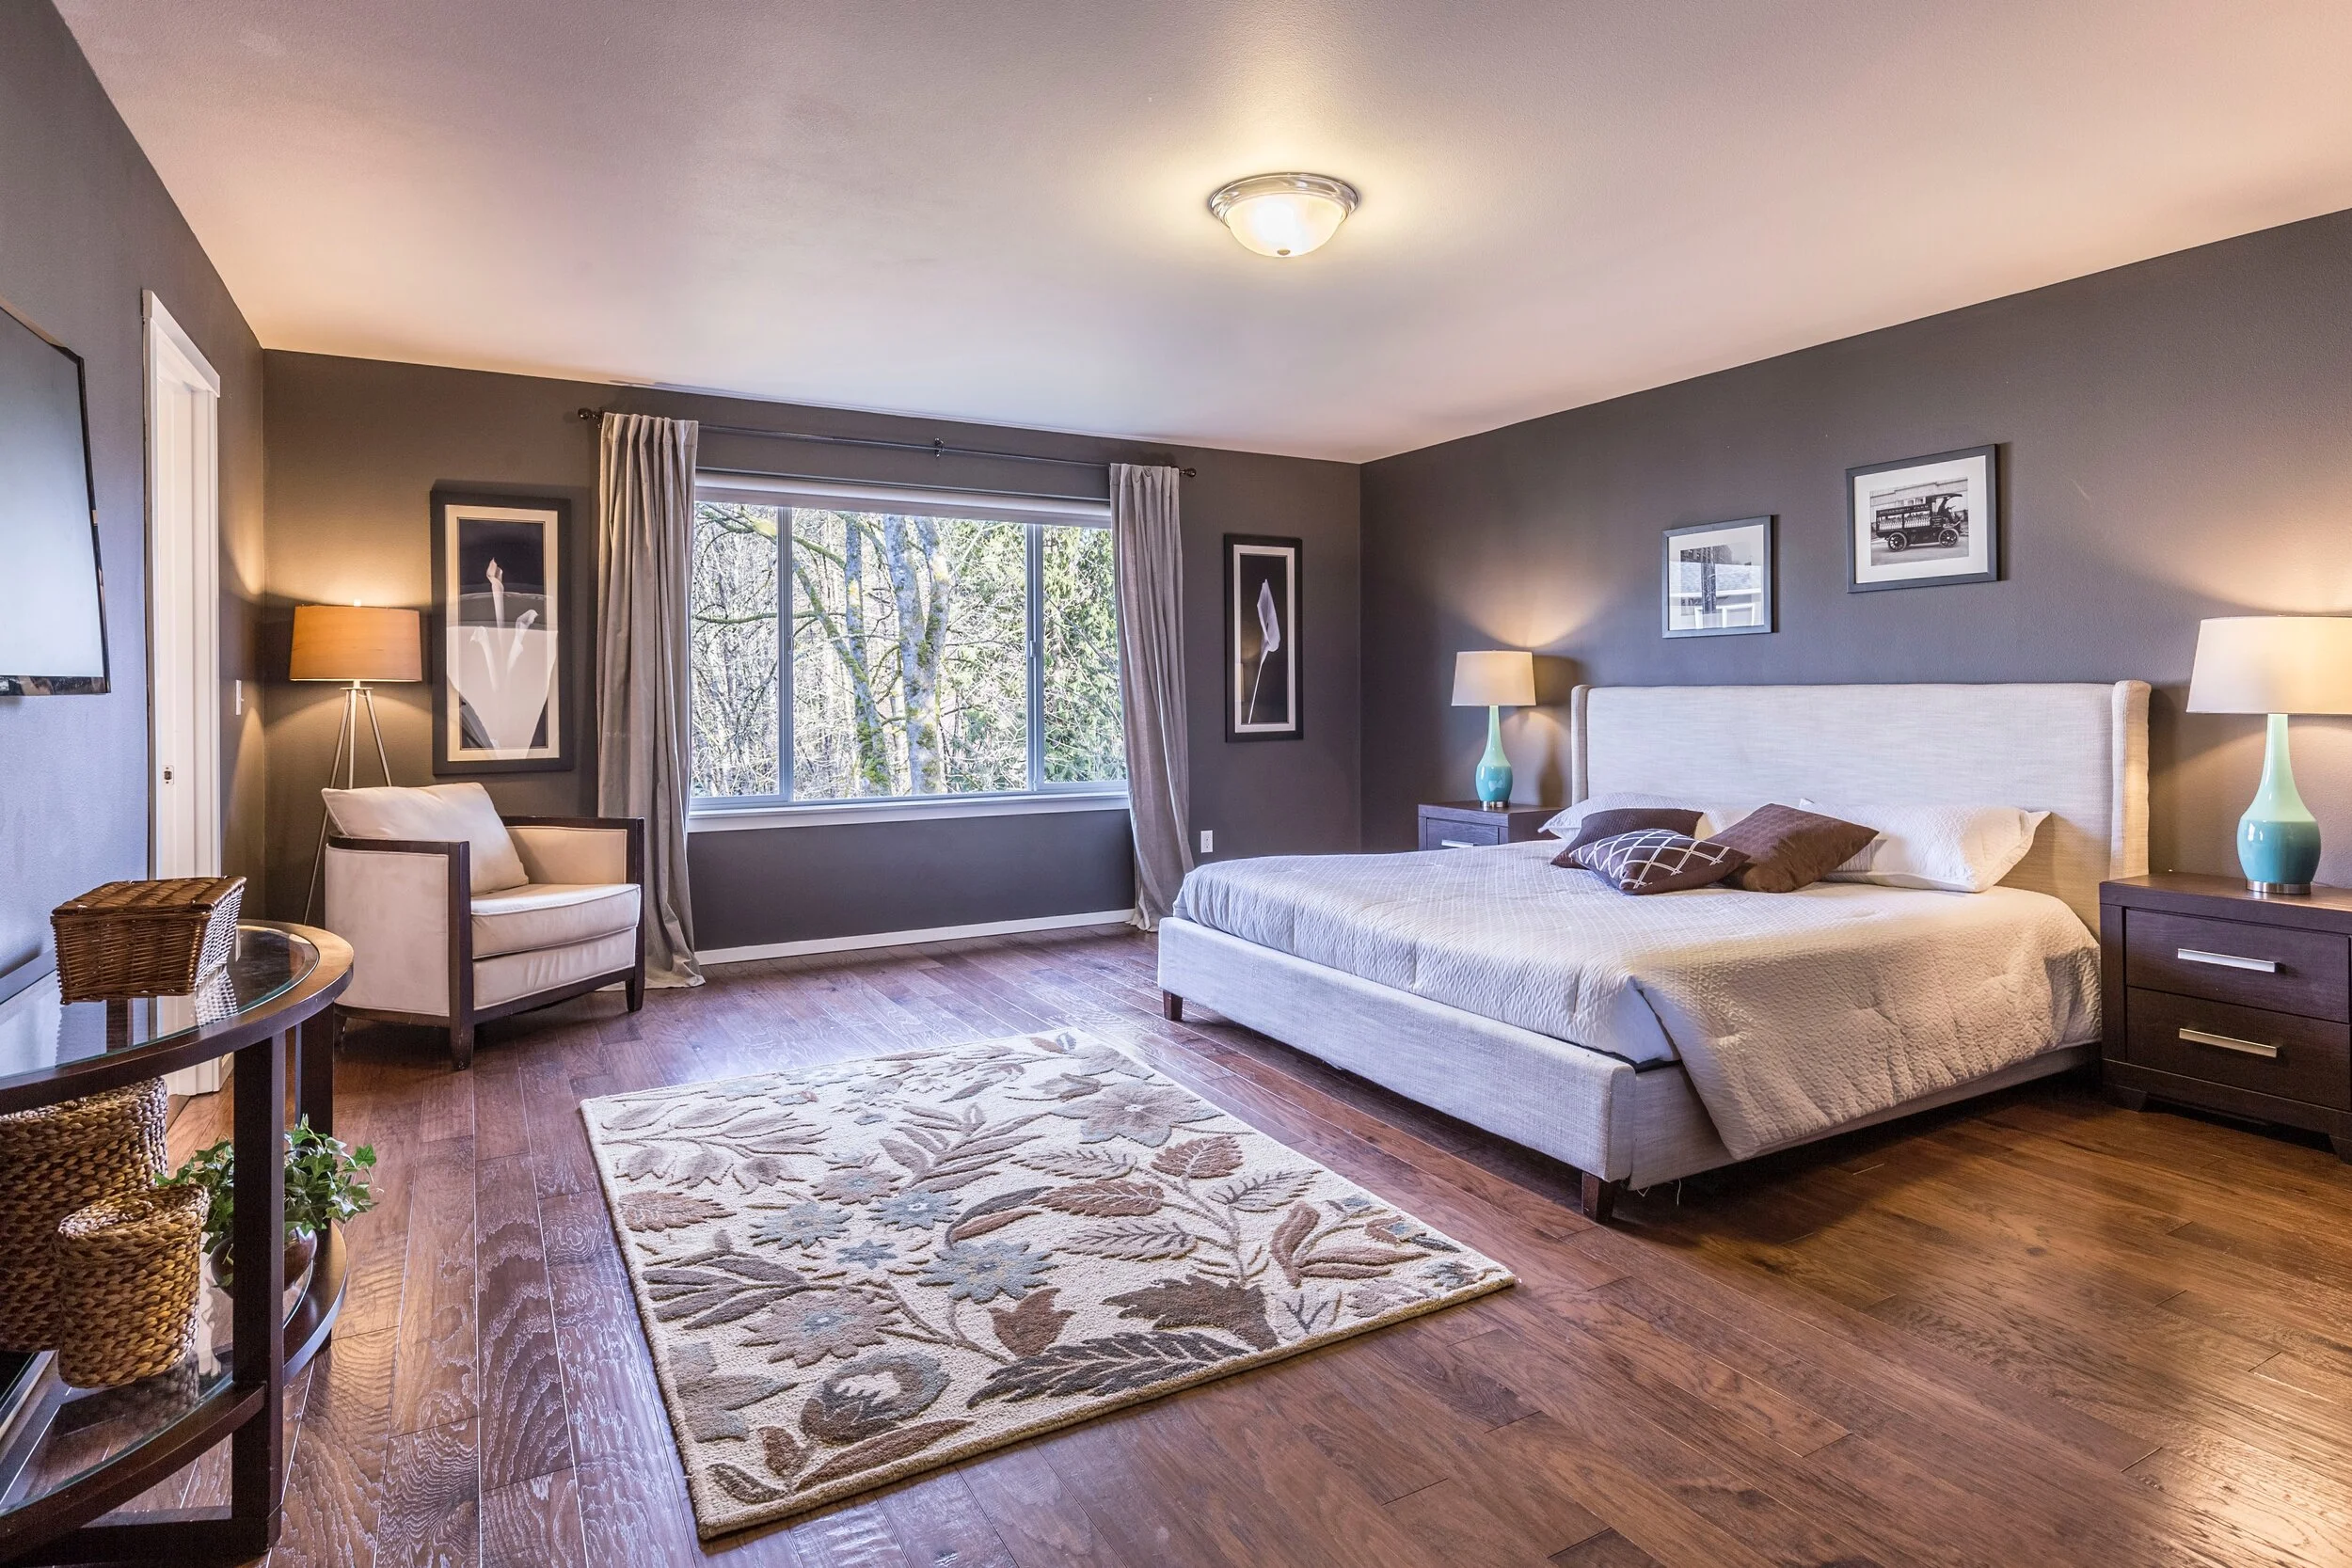
Use a tripod or prop your phone or camera on a stack of books to find the perfect height. You don't want to have too much ceiling, or too much floor. Following the rule of thirds; your floor and ceiling should each take up about the same amount of space. For most rooms this means photographing from a height of 4ft to 5ft. Kitchens can be photographed from a little higher up, if the overall balance is good.
Use Diagonal Lines Wisely
Look for the strongest diagonal lines in the room, then stand in a place that makes them converge somewhere in the middle of the photo. These lines are usually found in countertops, ceilings, floors and furniture. Use the grid lines on your camera or mobile phone to help. Stand in the corner of the room for the best effect.
2. Use styling to attract the type of tenant you want
Always take pictures with furniture
Styling your home for a brochure look gives the impression that the property is newer, subtly indicating to potential tenants that they will be able to put their own stamp onto it and call it their home. This is important even if the property is going to be let unfurnished. Many people struggle to visualise and appreciate the size and potential of a home without furniture pieces. This is why property developers always have furnished show homes!
So, think about the type of tenant you want to attract and what they might want in a property. A strategically placed work station for students or people who work from home, a box of toys in a room might help a family or a young couple visualise themselves in the home.
Declutter every space
When a property is occupied it can look like a cluttered mess. Remove any personal or religious items related to the current occupants. Make the beds, open curtains, do the dishes and put the toilet seat down!
Use props to add charm
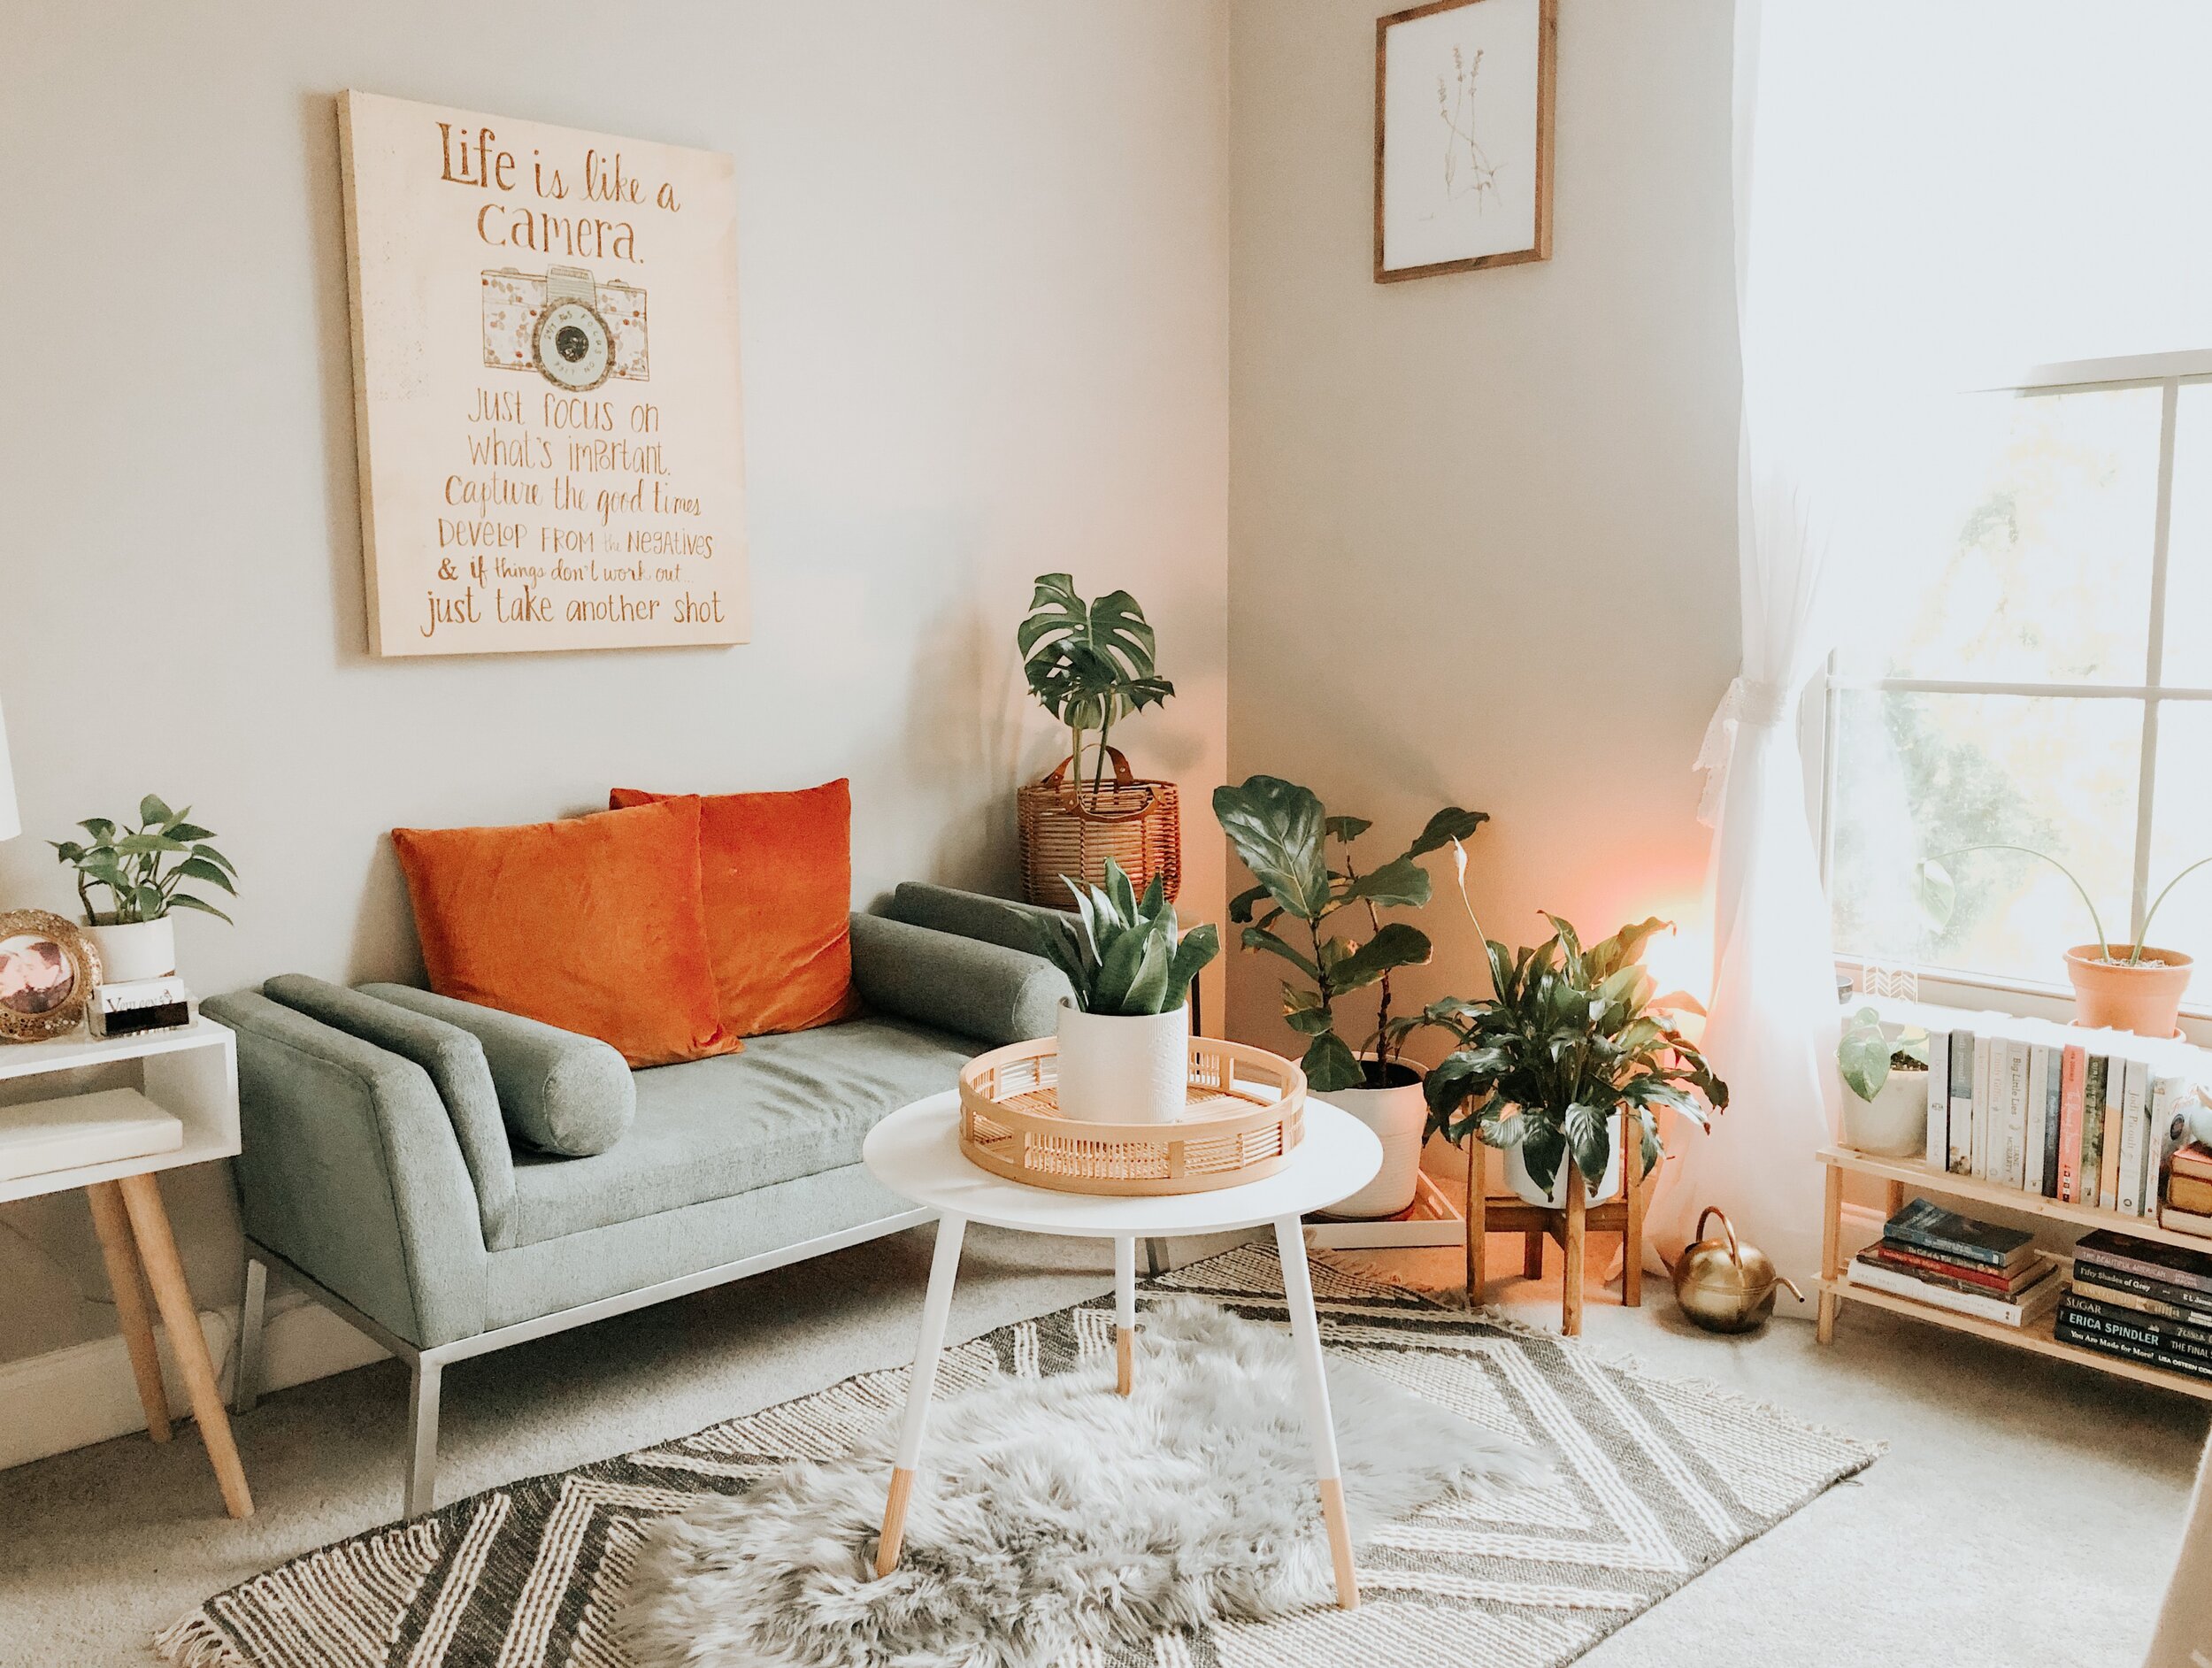
Throw cushions, flowers and striking kitchen accessories add a wonderful sense of personality to spaces. Tenants often get drawn to a particular item in a photo, so try to choose something memorable such as a unique kitchen utensil holder or throw to add an authentic sense of style. So, if you don’t have any of these to hand, a quick trip to IKEA might be in order.
Look for colour splashes
Try to break areas of monochromatic colour with a bright splash of unexpected colour in a complimentary shade. You may like to add some yellow sunflowers to a blue room or dress a neutral living room with colourful scatter cushions to create an area of focus.
3. Keep it light and bright with good lighting
Photographing your property at the right time of day, and using the light you have effectively, is essential. Follow our simple cheat sheet for getting the best lighting every time.
Avoid the midday sun. The best time to photograph a property is during the 'golden hour.' Get up early to photograph your property during the first two hours of the morning or wait until the last two hours of the day when the light is soft. This will produce less contrast with deeper natural colours.
Use the interior lights. Place lamps into darker corners and switch on every lamp and light in the home. This not only emphasises how much light is in your property, but also livens up the colours for a warmer, cosier look.
Bounce your flash light. If you have a speedlight flash, angle it at the ceiling for smooth, subtle lighting. If you don't have a flash you can choose a low-light setting for a colourful, vibrant look.
How to Take Perfect Property Photos
Now, after all that work, it’s time to take the photos. Use these simple dos and don'ts as a guideline for arranging the perfect look and feel to attract the ideal future tenants.
What to do
Remove all clutter. There is nothing less inviting than someone else’s mess.
Open all doors and windows to make the room feel lighter, airier and more inviting.
Switch on all the interior lights, including the lamps. This creates a beautiful, inviting atmosphere with lovely pockets of warmth.
Take photos near windows with great views.
Take a few photos from multiple angles and pick the best ones afterwards.
What not to do
Do not take deceptive photos. It will only mean you have to do more viewings for fewer offers.
Do not be afraid of editing your pictures and using filters.
Don’t neglect outside pictures. People want to imagine the building they will be living in.
Do not use fisheye or other novelty lenses.
Do not appear in the photos! Watch out for those mirrors and reflective surfaces.
With a little careful planning, some basic tools and a quick tidy-up it's easy to create beautiful photographs that will delight your future tenants. Having amazing property photography gets you more views, more bookings and hopefully more rental offers. With lots of demand generated you can be more selective about which tenant moves into your property.
If you have any questions, get in touch with Husmus today.


